Email Setup Instructions
At ANLX we use standard settings for our email services. These are as follows:
| Incoming POP3 | Incoming IMAP |
|---|---|
| Incoming Server: pop3.anlx.net | Incoming Server: imap.anlx.net |
| SSL: None | SSL: None |
| Port: 110 | Port: 143 |
| Outgoing Server: |
|---|
| Outgoing Server: smtp.anlx.net |
| SSL: Accept All Certificates |
| Port: 465 |
Windows Live Mail
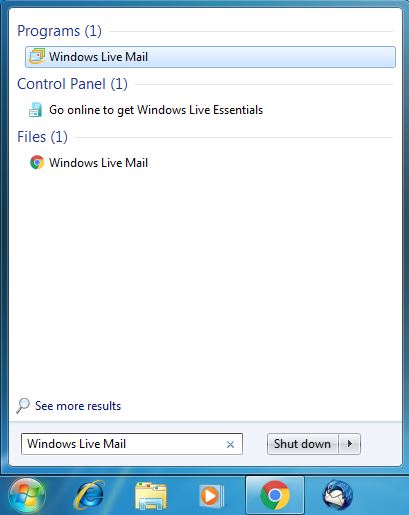
1.First open the start menu by clicking the windows icon in the bottom left hand corner of the screen, and type “Windows Live Mail”
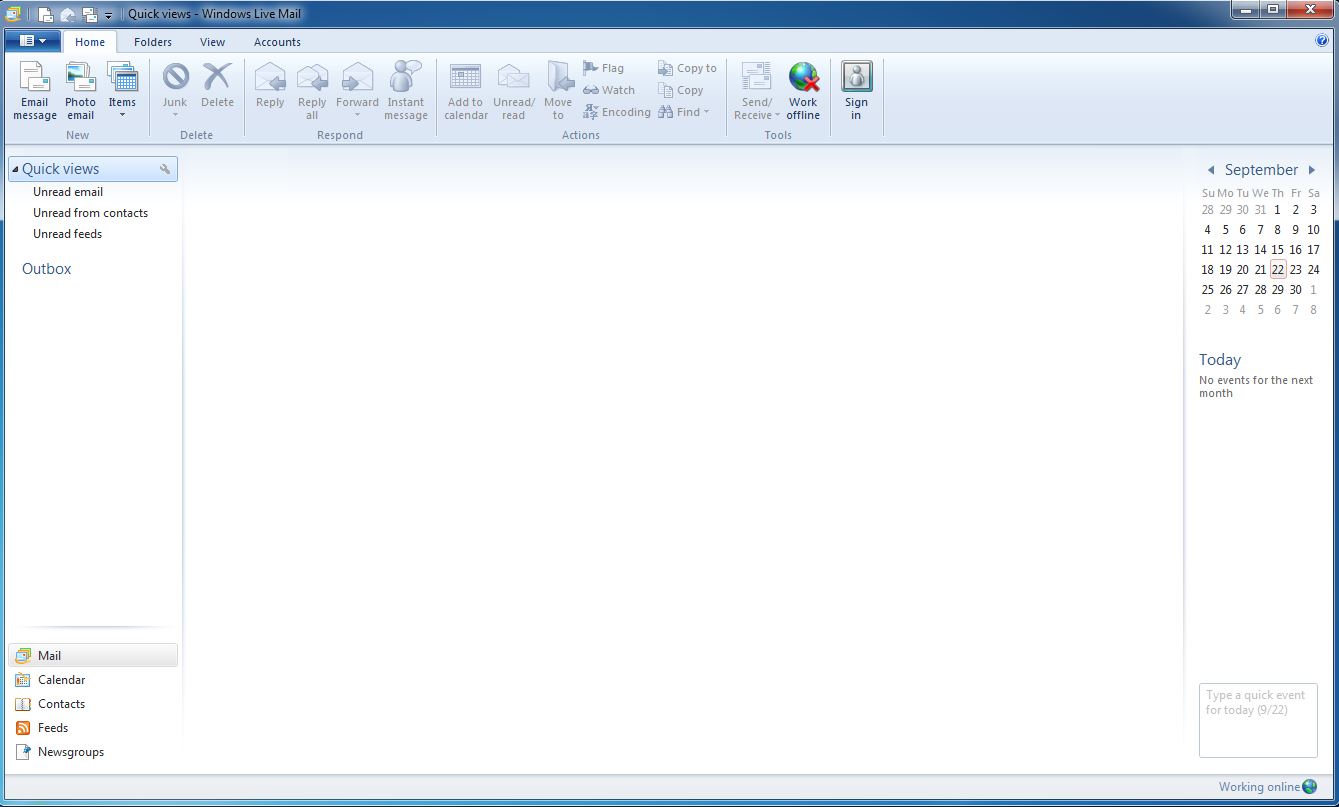
2.From windows live mail click on the top left drop down button.
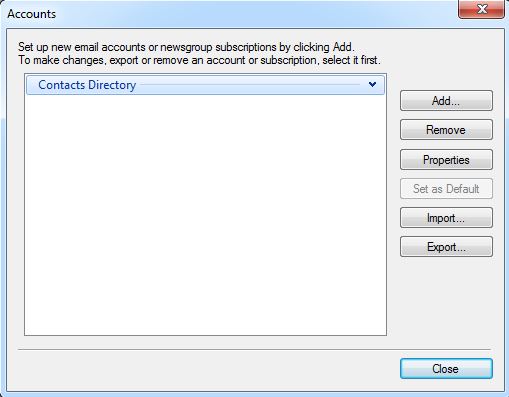
3. Now select the “Options” tab and then go to “Email accounts”

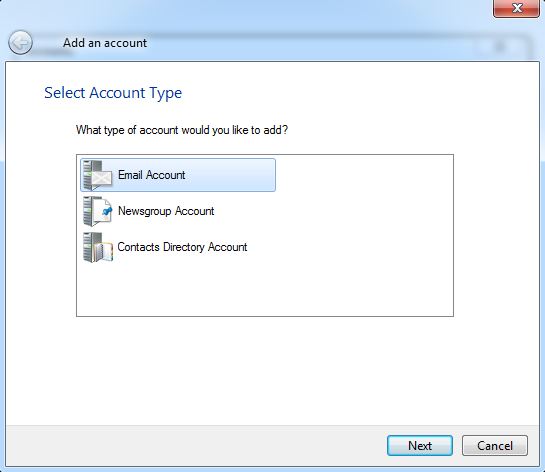
4. Now click on the “Add” button
5. “Email Account”
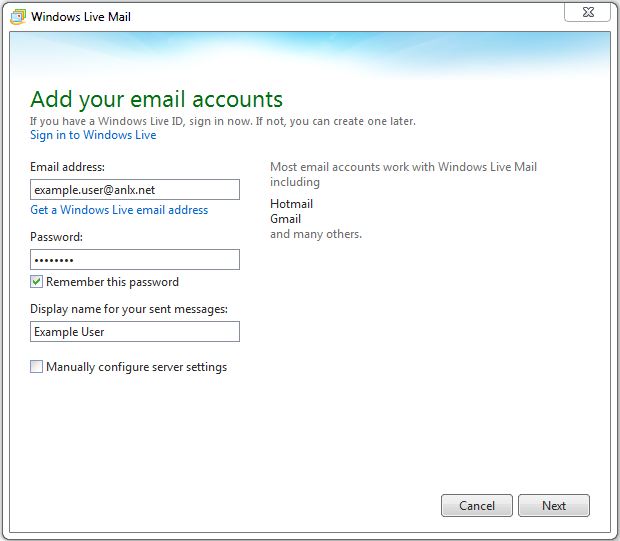
6. Now type in the required intimation into the fields:
Email Address: your email
Password: your password
Display name for your sent messages: your name
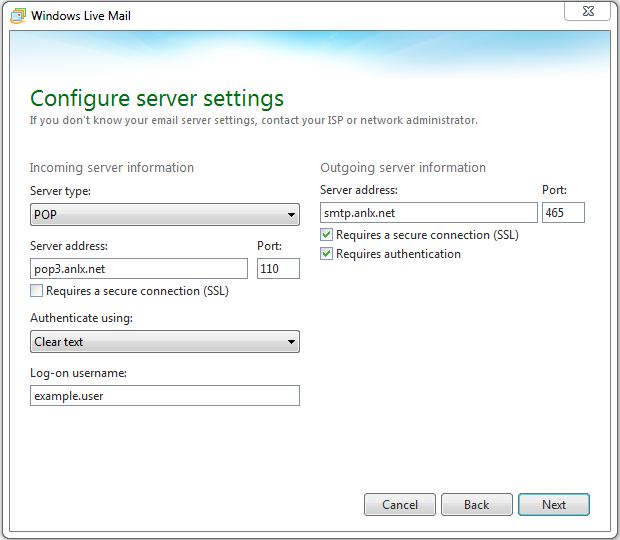
7. Incoming server information
Server type: POP
Server address: pop3.anlx.net
Port: 110
Log-on username: firstname.lastname
Outgoing server information
Server address: smtp.anlx.net
Port: 465
Make sure both “Requires a secure connection (SSL)”, and “Requires authentication” are both ticked
Then click “Next” and “Finish” to complete the setup.
Windows 10 Mail (POP3)
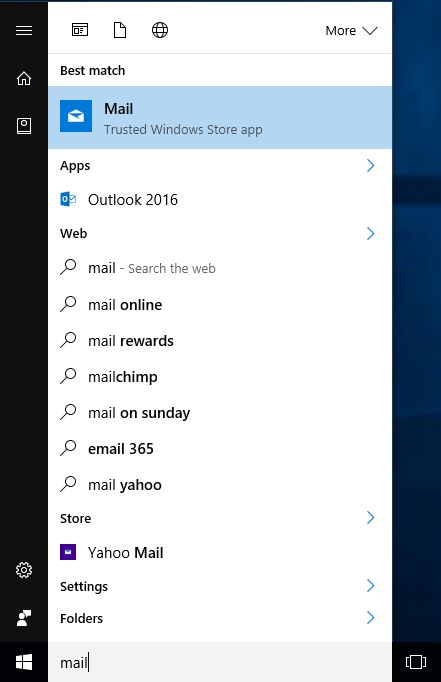
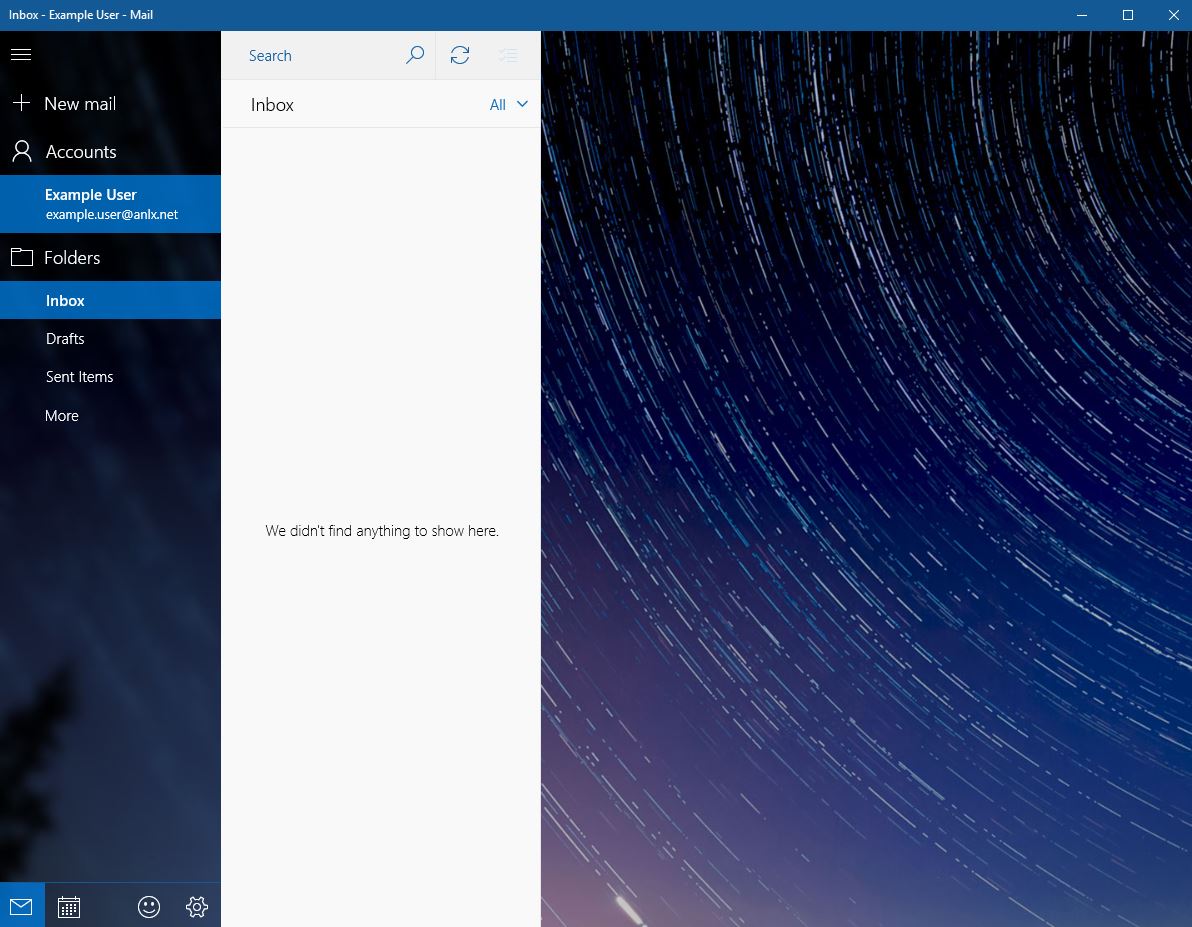
1. To open Mail, first click the windows icon in the bottom left hand corner to bring up the start menu, and type “Mail”
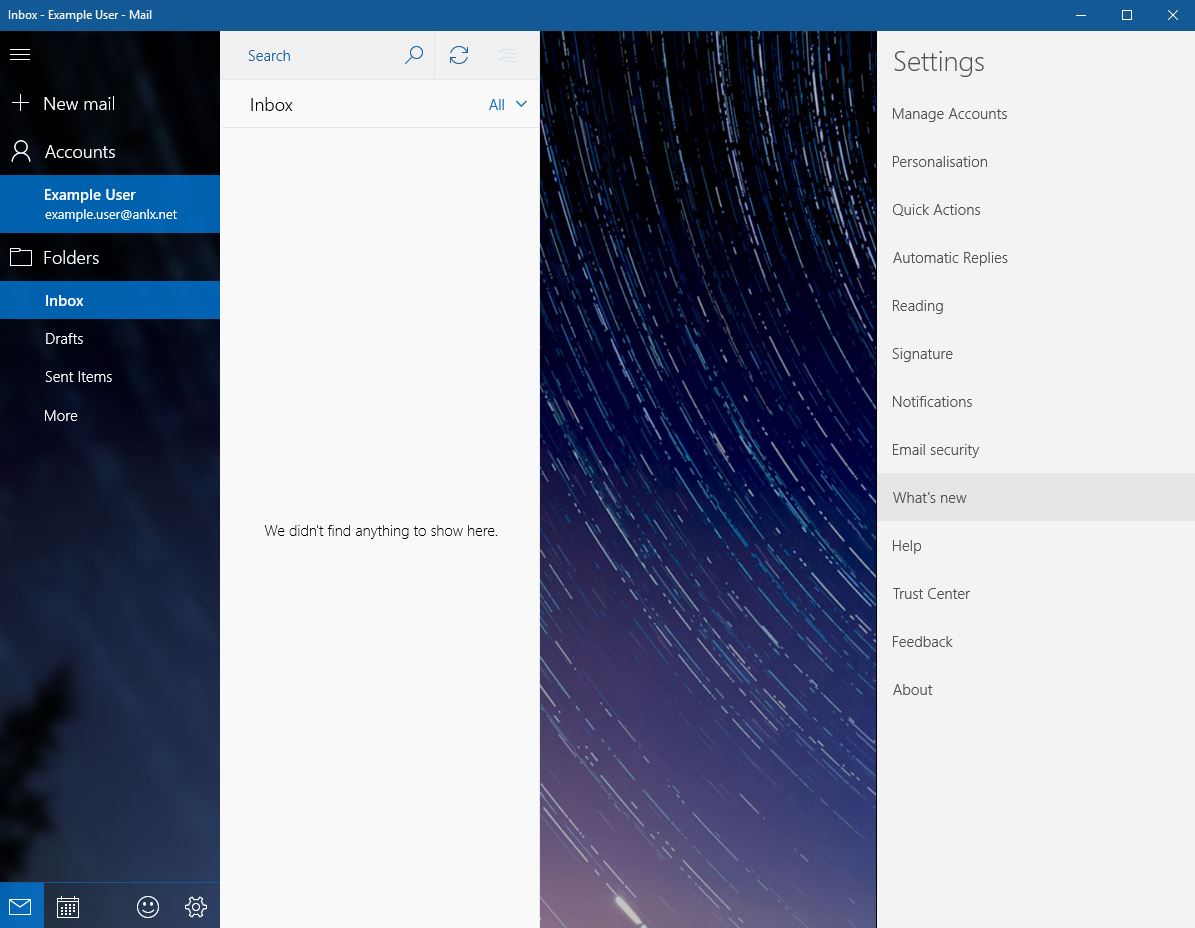
2. In the mail app click the settings icon on the bottom left of the screen.

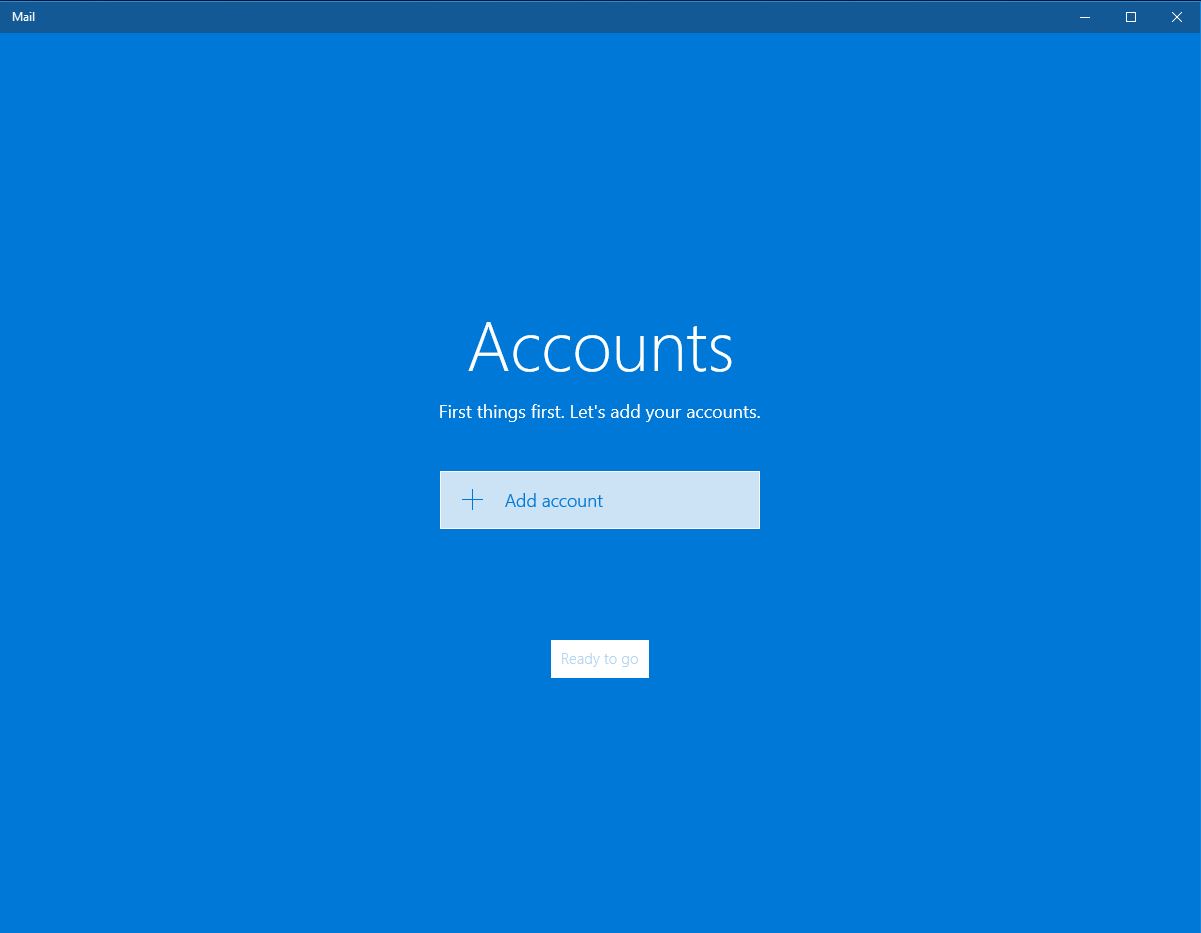
3. Click “Manage accounts”
4. Now click on “Add Account”
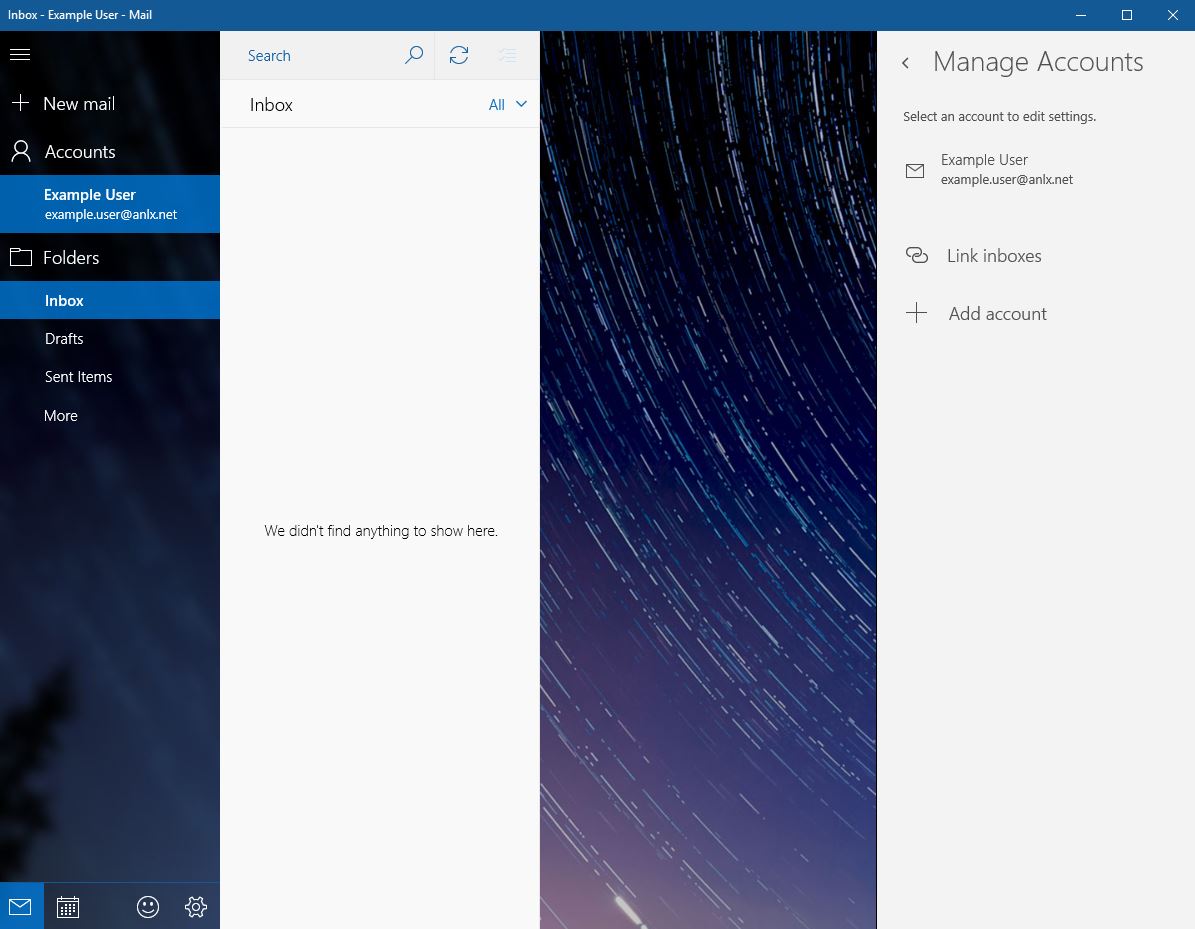
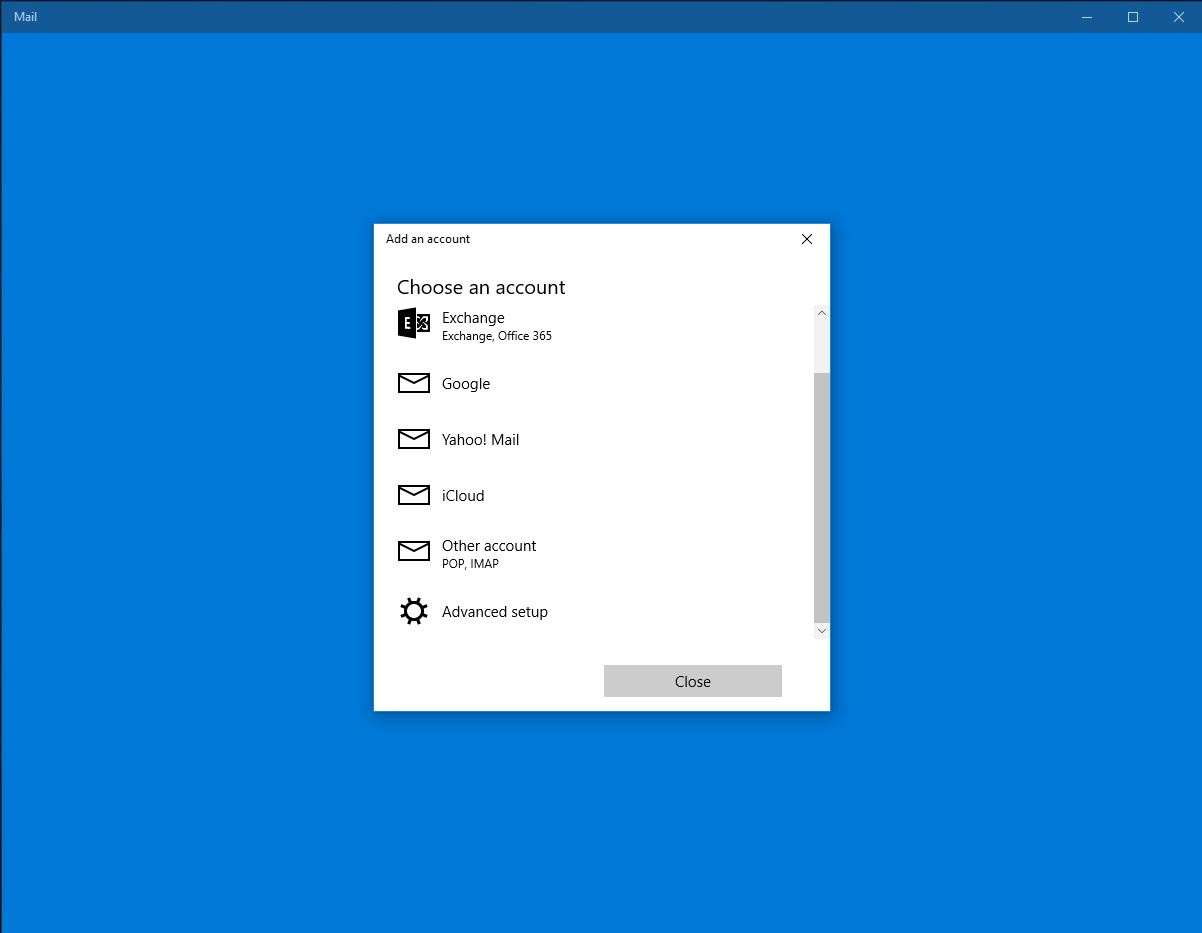
5. Then “Other Account”
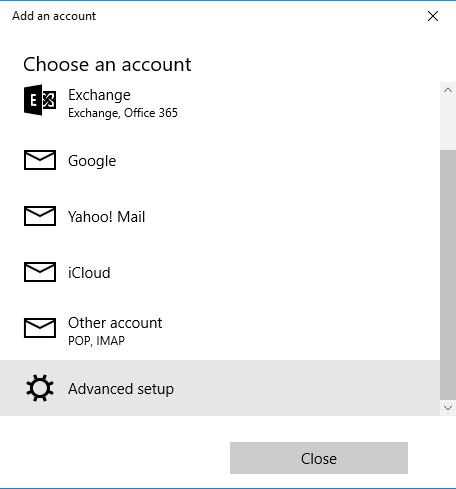
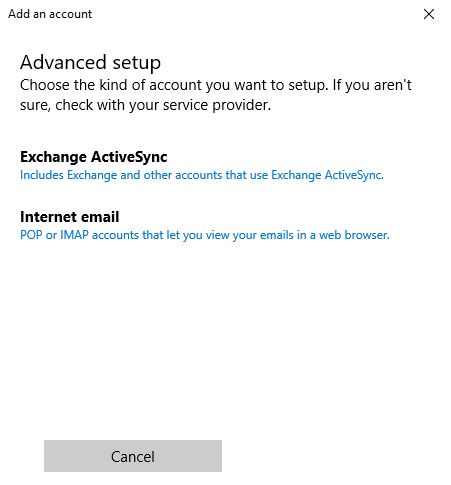
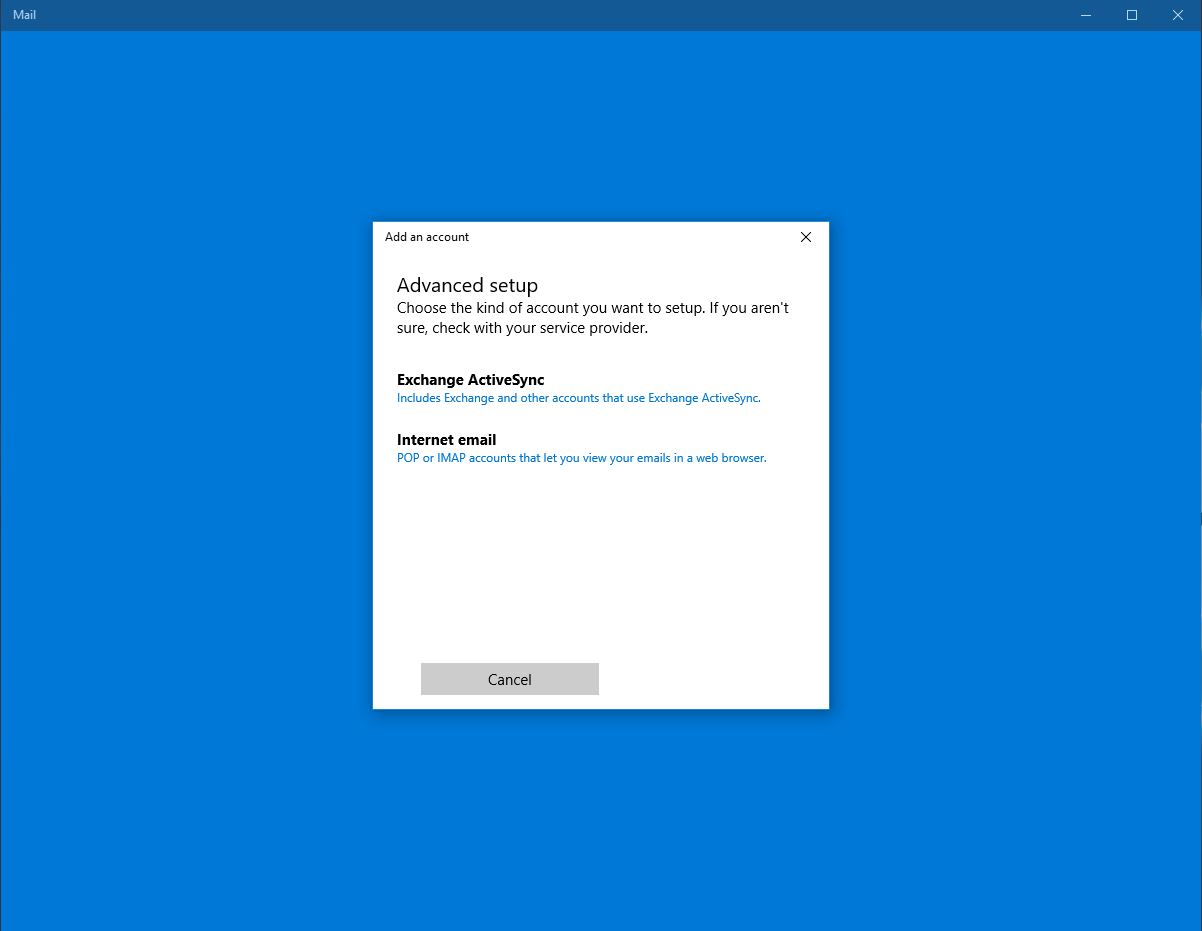
6. Now pick the “Internet email” option
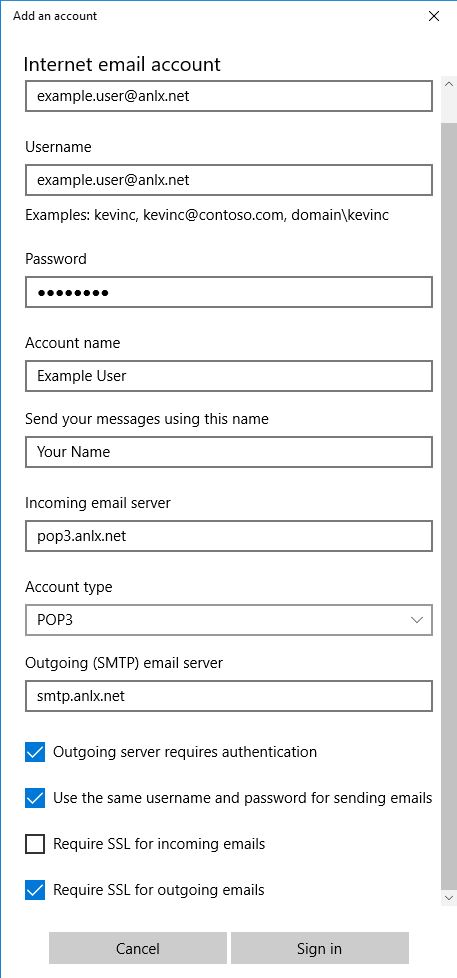
7. Finally fill in the following fields with the required information:
Internet Email Account: your email
Username: your email
Password: your password
Account name: something you will recognise as this account
Send your messages using this name: your name
Incoming email server: pop3.anlx.net
Account Type: POP3
Outgoing (SMTP) email server: smtp.anlx.net
Make sure the following boxes are ticked: Outgoing server requires authentication/ use the same username and password for sending emails/ Require SSL for outgoing emails
Windows 10 Mail (IMAP)
1.First open the start menu by clicking the windows icon in the bottom hand left corner of the screen, and type “Mail”, then press enter or click on the mail icon

2. Then, in the bottom left corner, click the small settings icon.

3.Then in mail settings, click “Manage accounts”

4.Now click “Add account”

5. Click “Other Account”
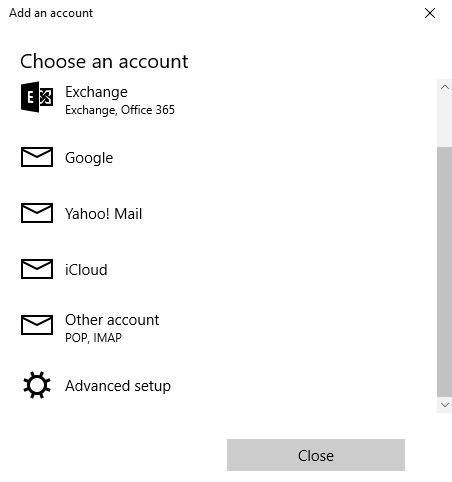
6. Now select “Internet email”
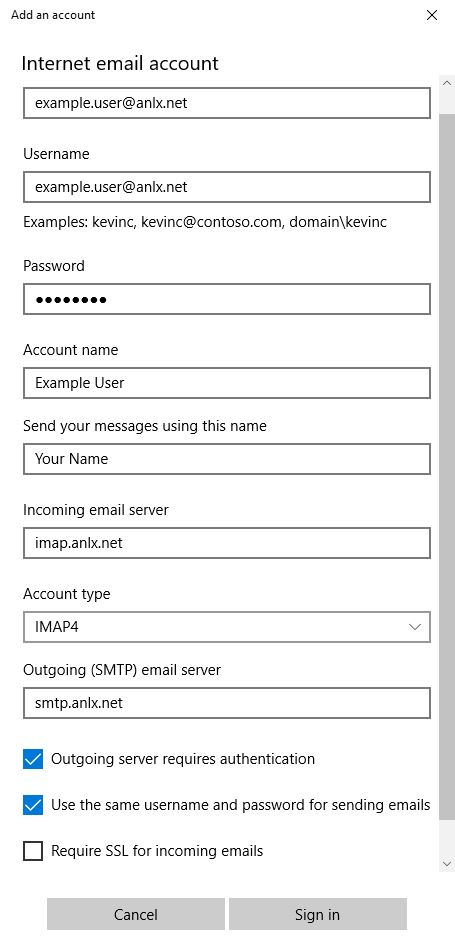
7. Now fill in the following fields with this information:
Email address: your email
Username: your email
Password: your password
Account name: something you will recognise as this account
Send your messages using this name: your name
Incoming email server: imap.anlx.net
Account Type: IMAP4
Outgoing (SMTP) email server: smtp.anlx.net
Make sure theses boxes are ticked: Outgoing server requires authentication/ Use the same username and password for sending emails
Windows 10 Mail (Exchange)
1. First open the start menu by clicking the windows icon in the bottom left corner of the screen and type “Mail”

2. Now click the little settings icon in the bottom left hand corner
3. In the settings tab, click on “Manage Account”

4. In the Manage account tab, select “Add Account”

5. Click “Add Account”
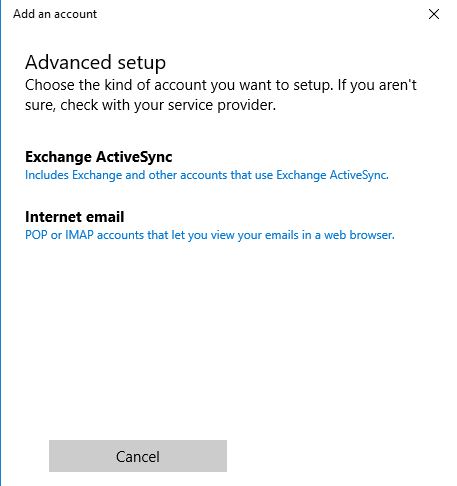
6. Now click “Exchange”
7. Now click “Exchange ActiveSync”
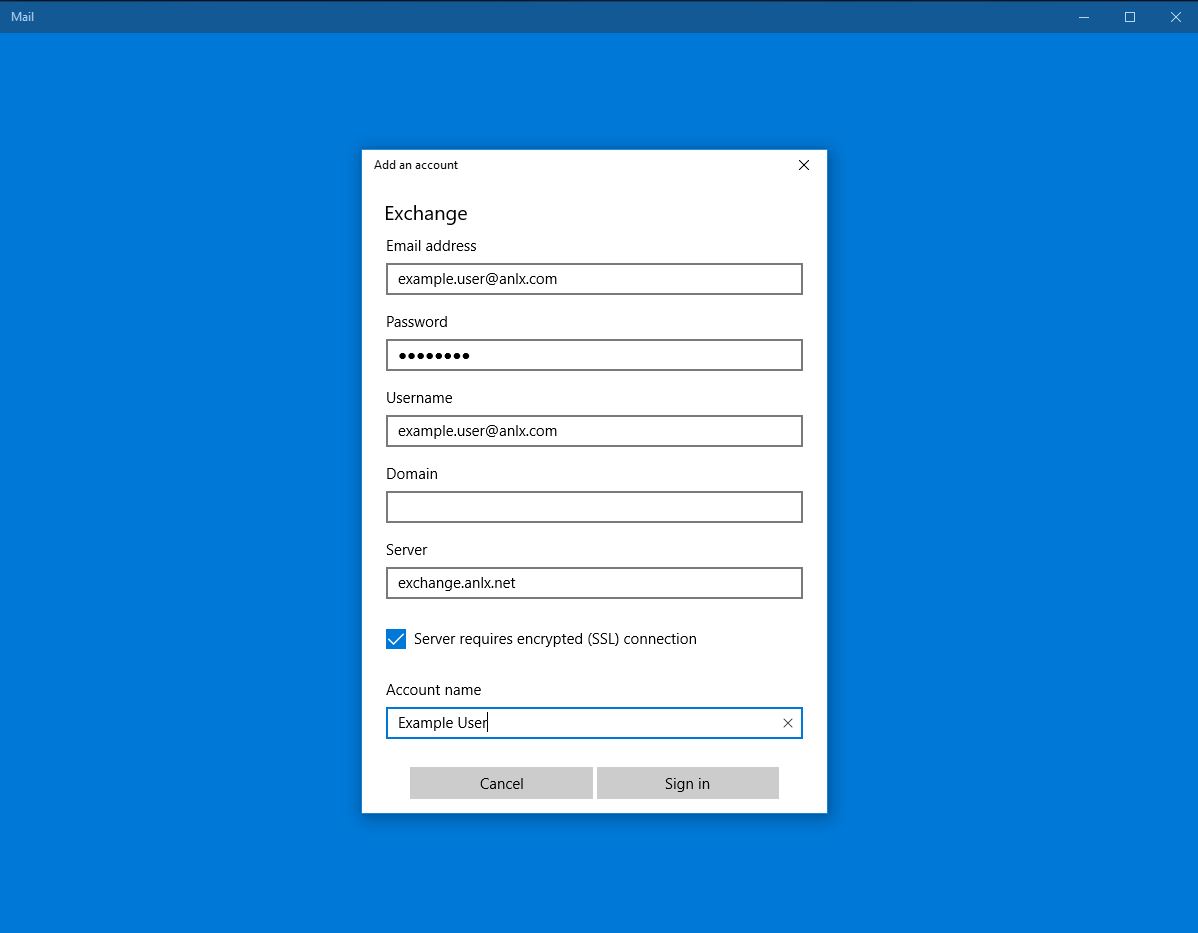
8. Now fill in the following information to the fields:
Email Address: your email
Password: your password
Username: your email
Server: exchange.anlx.net
Tick “Server requires encrypted (SSL) Connection
Account Name: a name you will associated with this account