Email Setup Instructions
At ANLX we use standard settings for our email services. These are as follows:
|
Incoming POP3
|
Incoming IMAP
|
|---|---|
| Incoming Server: pop3.anlx.net | Incoming Server: imap.anlx.net |
| SSL: None | SSL: None |
| Port: 110 | Port: 143 |
|
Outgoing Server:
|
|---|
| Outgoing Server: smtp.anlx.net |
| SSL: Accept All Certificates |
| Port: 465 |
Android (IMAP)
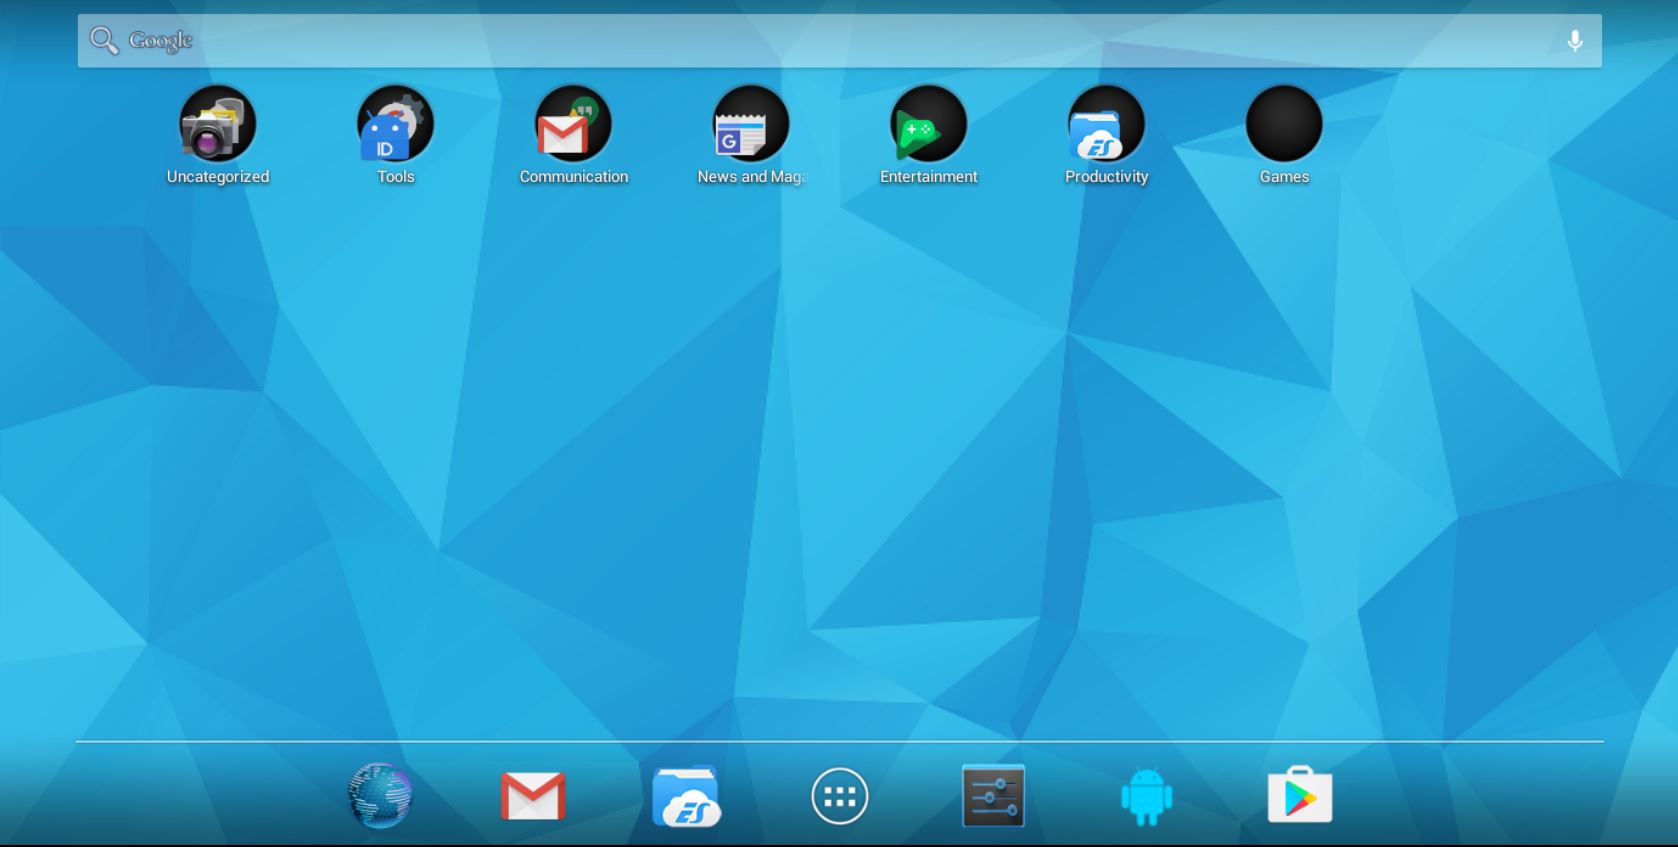
On your devices home screen tap the app tray icon.
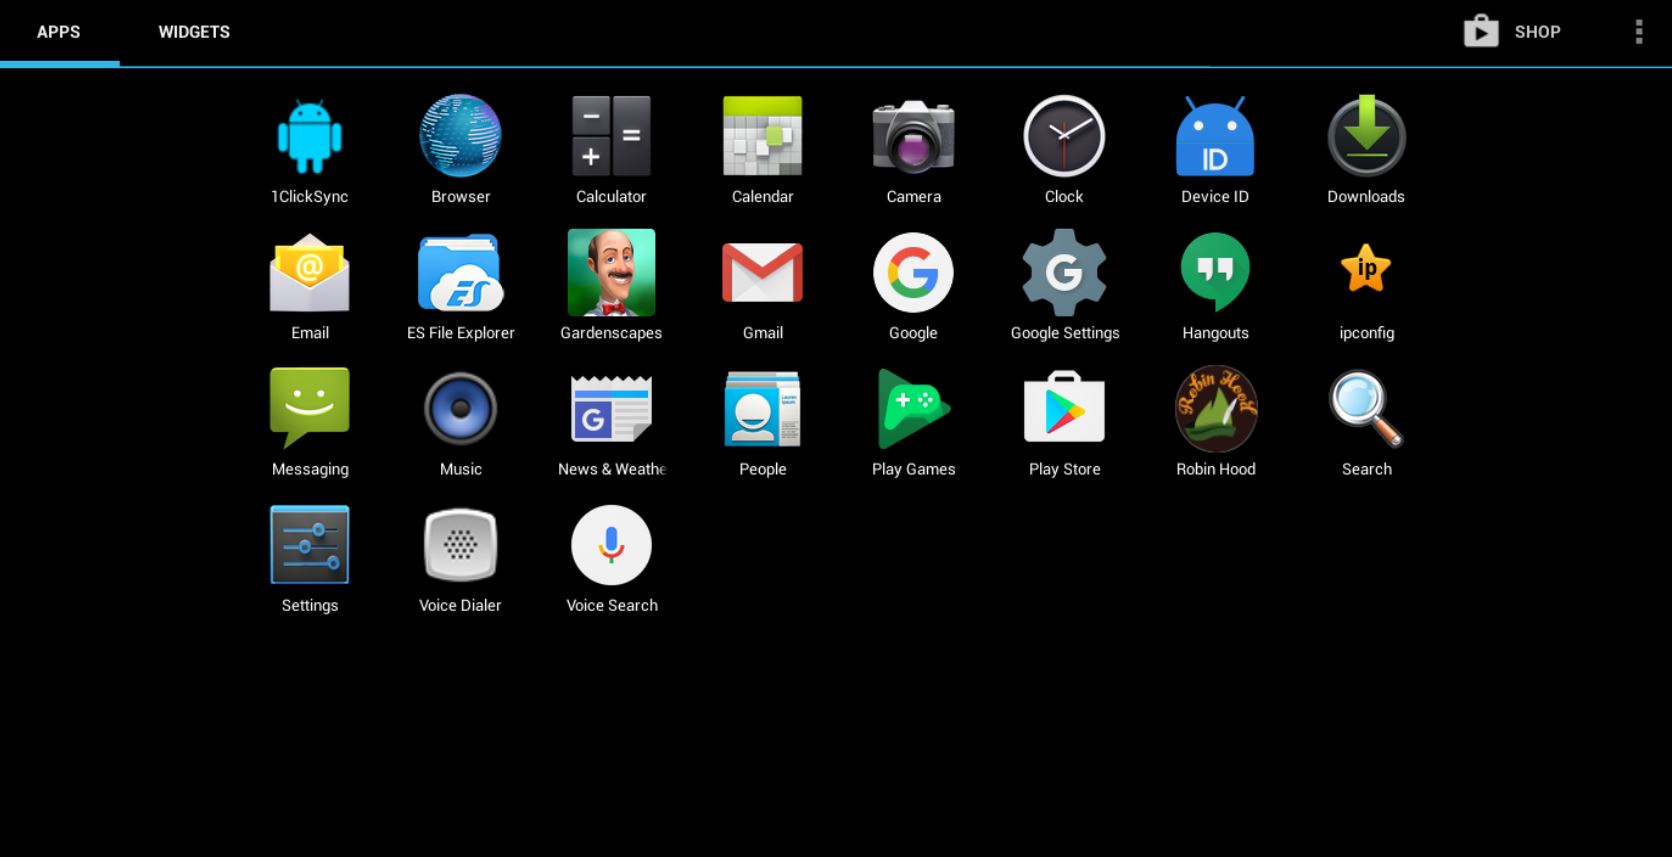
From the App tray, tap on the email icon on the left hand side of the screen
In the email app, please fill in the ‘Email address’ and ‘password’ fields with your information then select ‘next’

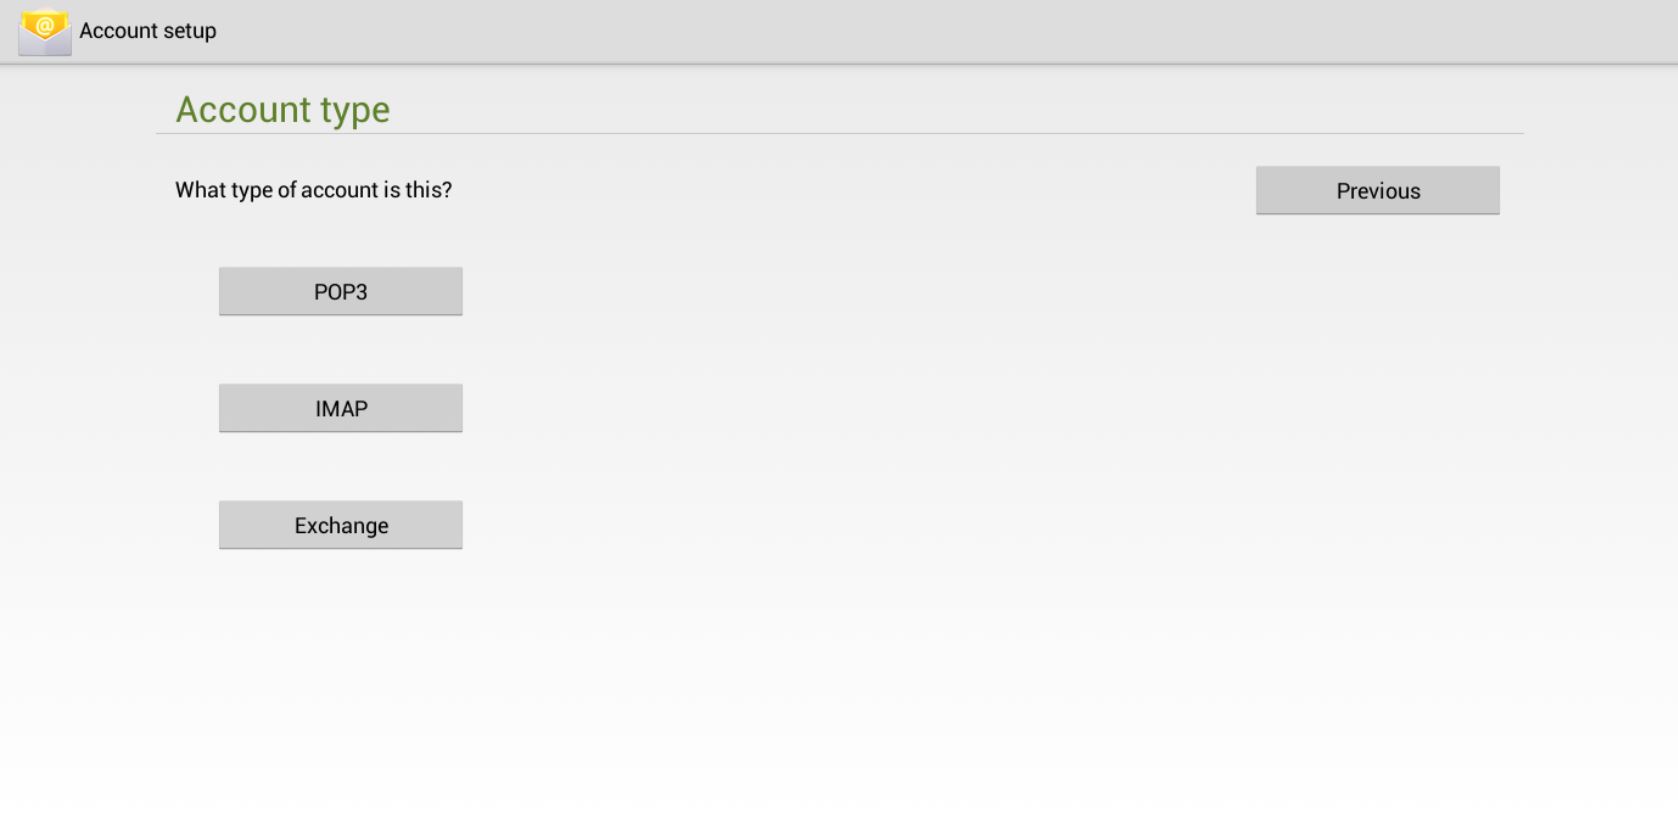
Select the “IMAP” button
Please fill in these fields with this information:
Username: your email
IMAP server: imap.anlx.net
Security type: None
Port: 143 (this should be default)
Then press “next”
Outgoing Server Settings:
SMTP server: smpt.anlx.net
Security type: SSL/TLS (accept all certificates)
Port: 465
Require sign in: Yes
Username: Your Email address
Password: Your Password

Inbox checking Frequency: Every 15 minuets
Make sure that these fields are checked yes:
- Notify me when email arrives
- Sync email from this account
- Automatically download attachments when connect to Wi-Fi
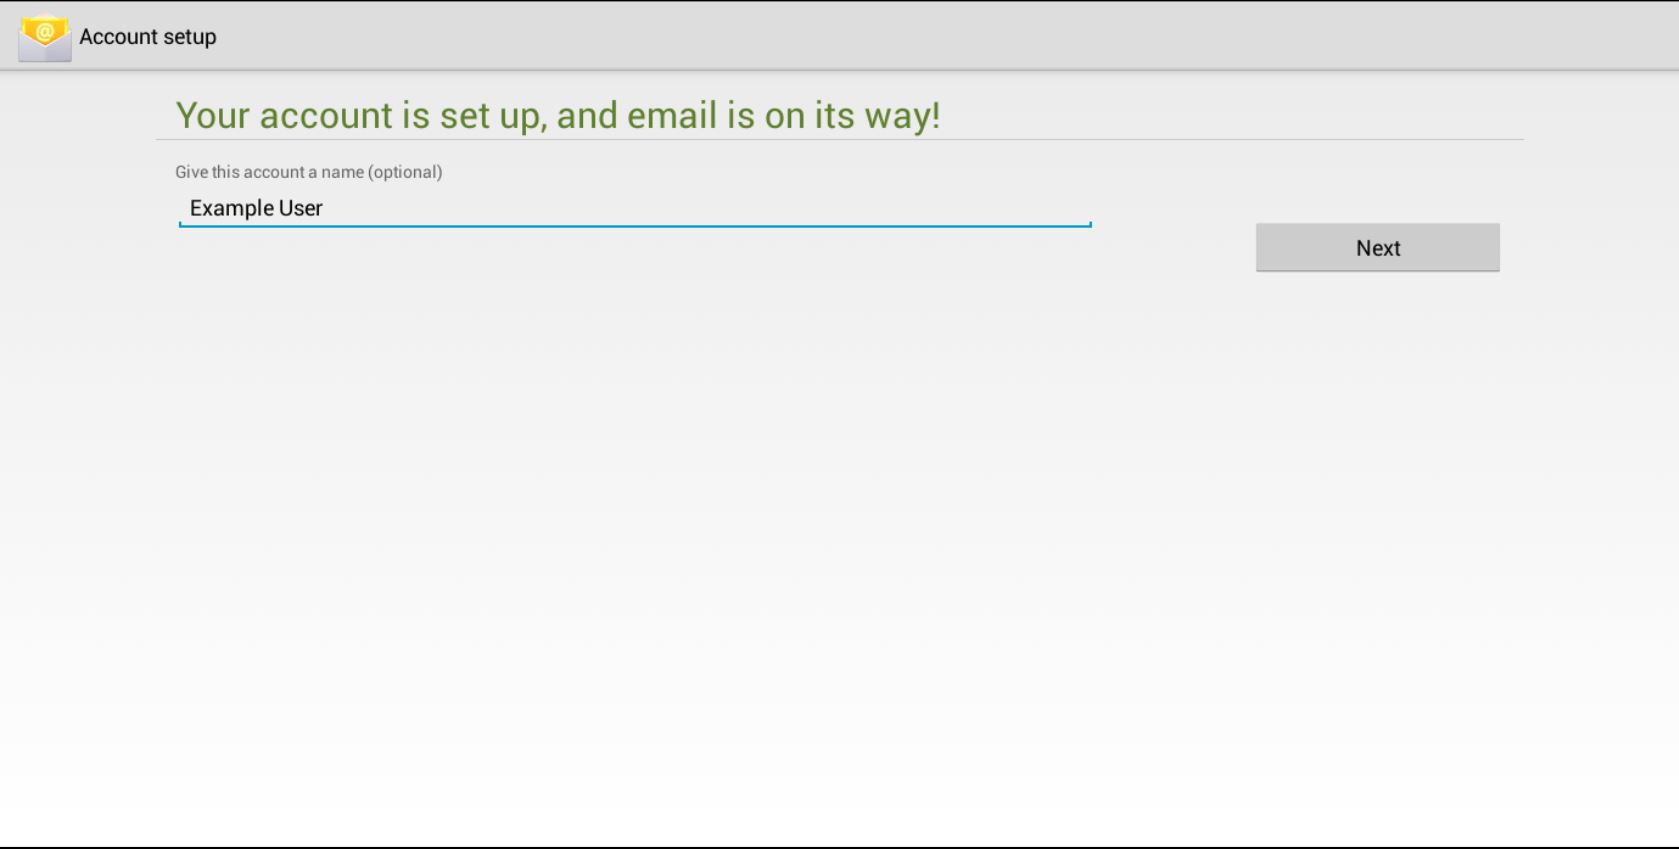
Give this account a name, this should be something you meaningful
Your name: this will be displayed on outgoing messages
Android (POP3)
1.On your devices home screen tap the app tray icon
2. From the App tray, tap on the email icon on the left hand side of the screen
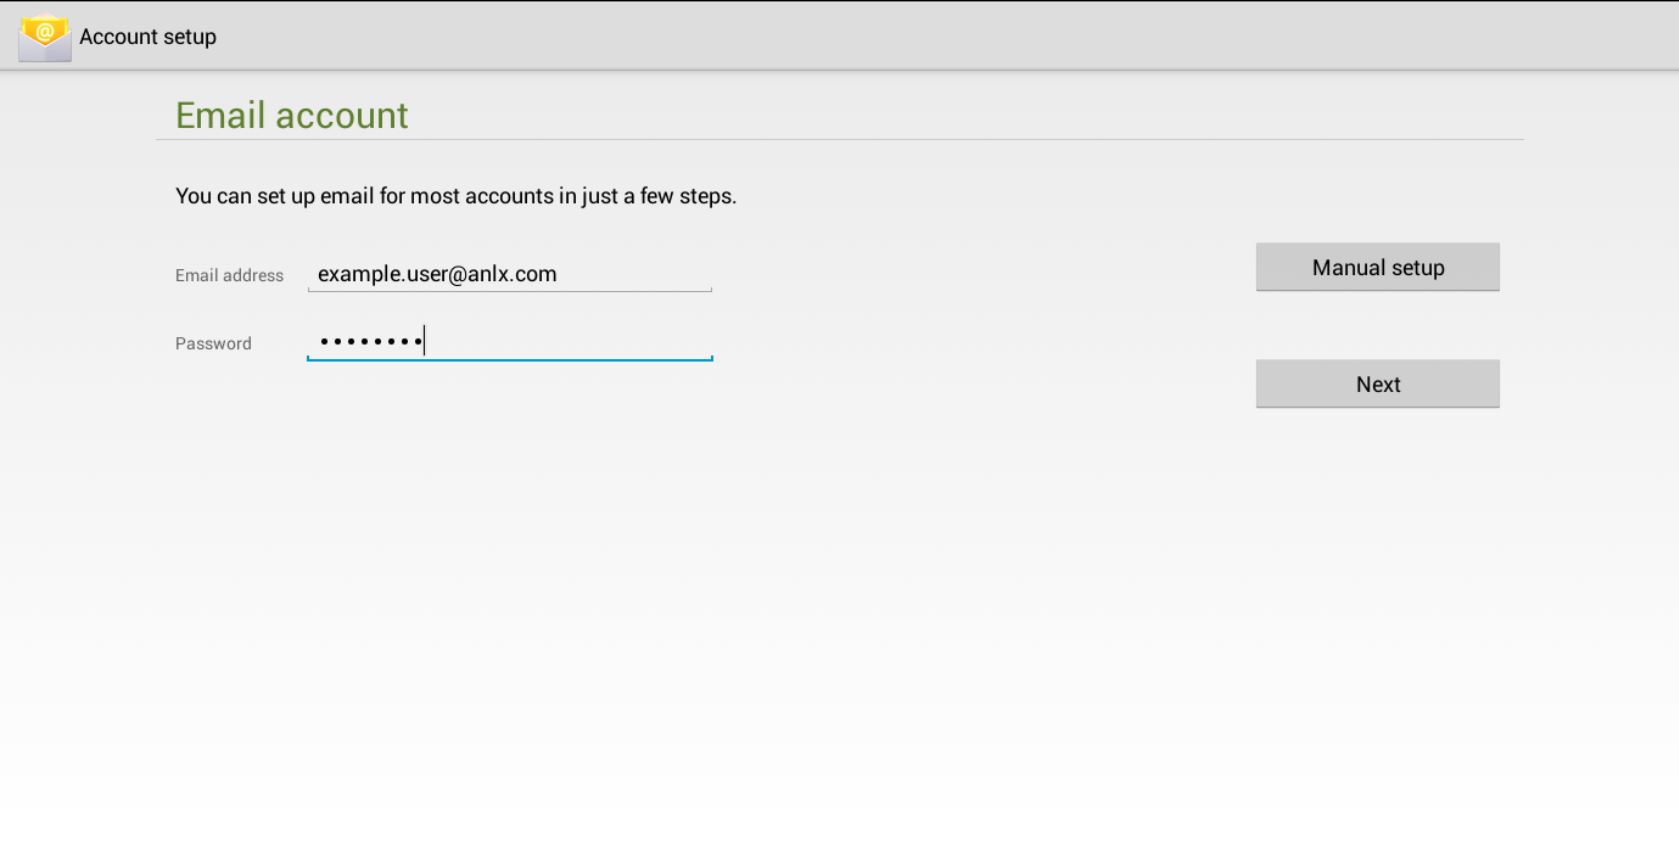
3. In the email app, please fill in the ‘Email address’ and ‘password’ fields with your information then select ‘next’
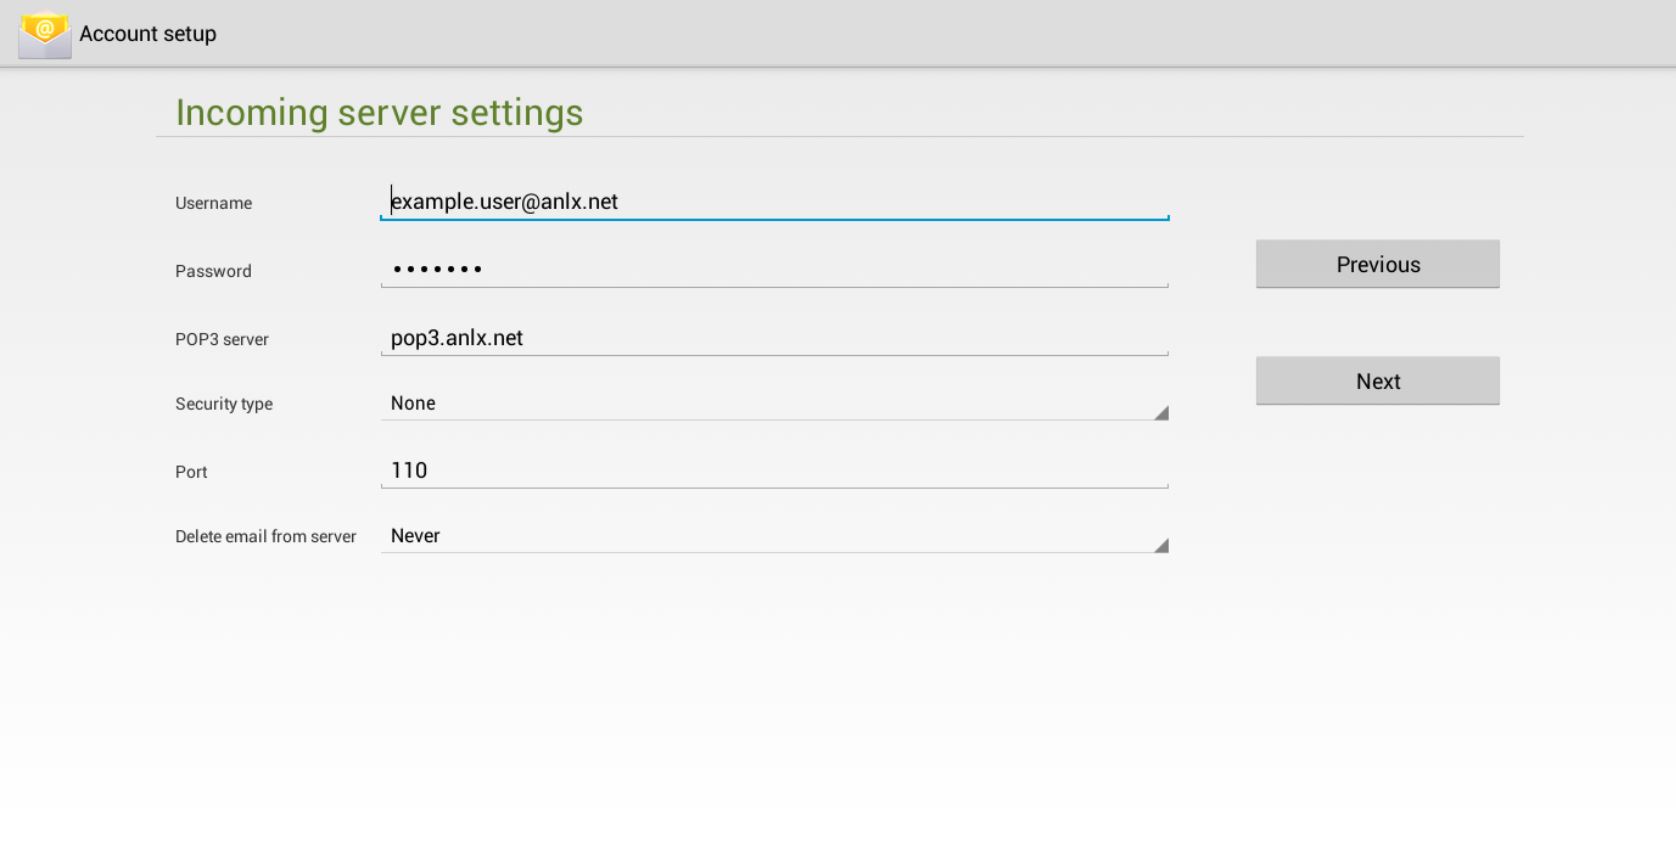
Select the “POP3” button
Please fill in these fields with this information:
Username: Email address
Password
POP3 Server: pop3.anlx.net
Security Type: None
Now fill out the outgoing server settings:
SMTP server: smtp.anlx.net
Security Type: SSL/TLS (accept all certificated)
Port: 465
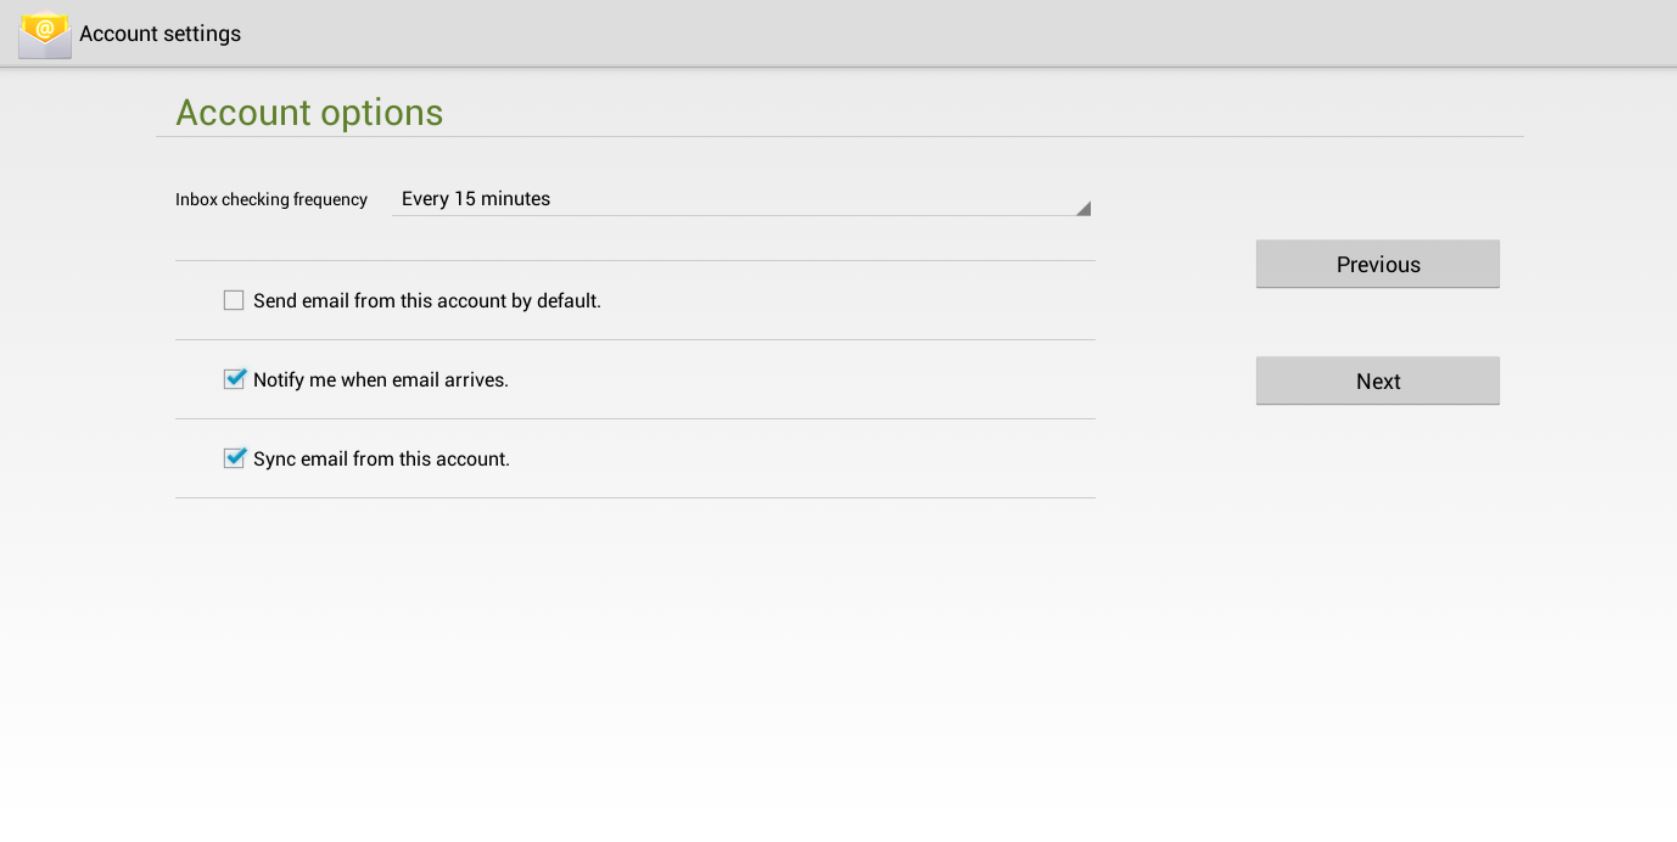
Now make sure that the inbox check frequency is set to 15 minutes, “Notify me when email arrives”, and “Sync email from account” are both checked. And press next
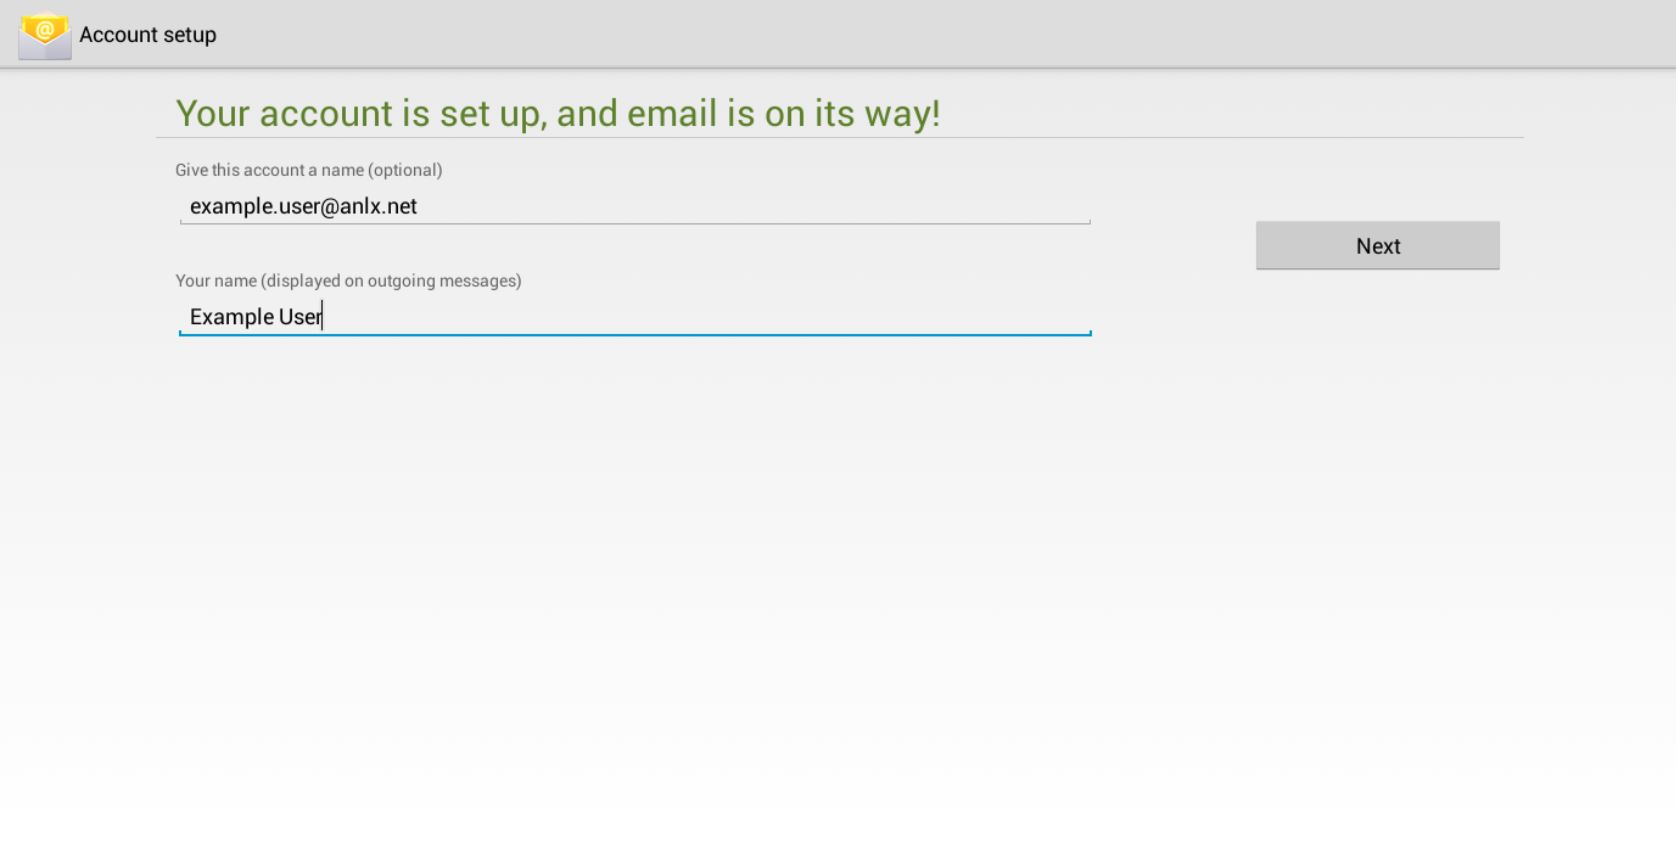
Now give this account a name, for example: Work Email
Then enter your name
To finish press next.
Android (Exchange)
1.On your devices home screen tap the app tray icon

2. From the App tray, tap on the email icon on the left hand side of the screen

3. In the email app, please fill in the ‘Email address’ and ‘password’ fields with your information then select ‘next’
4. Select the “Exchange” button
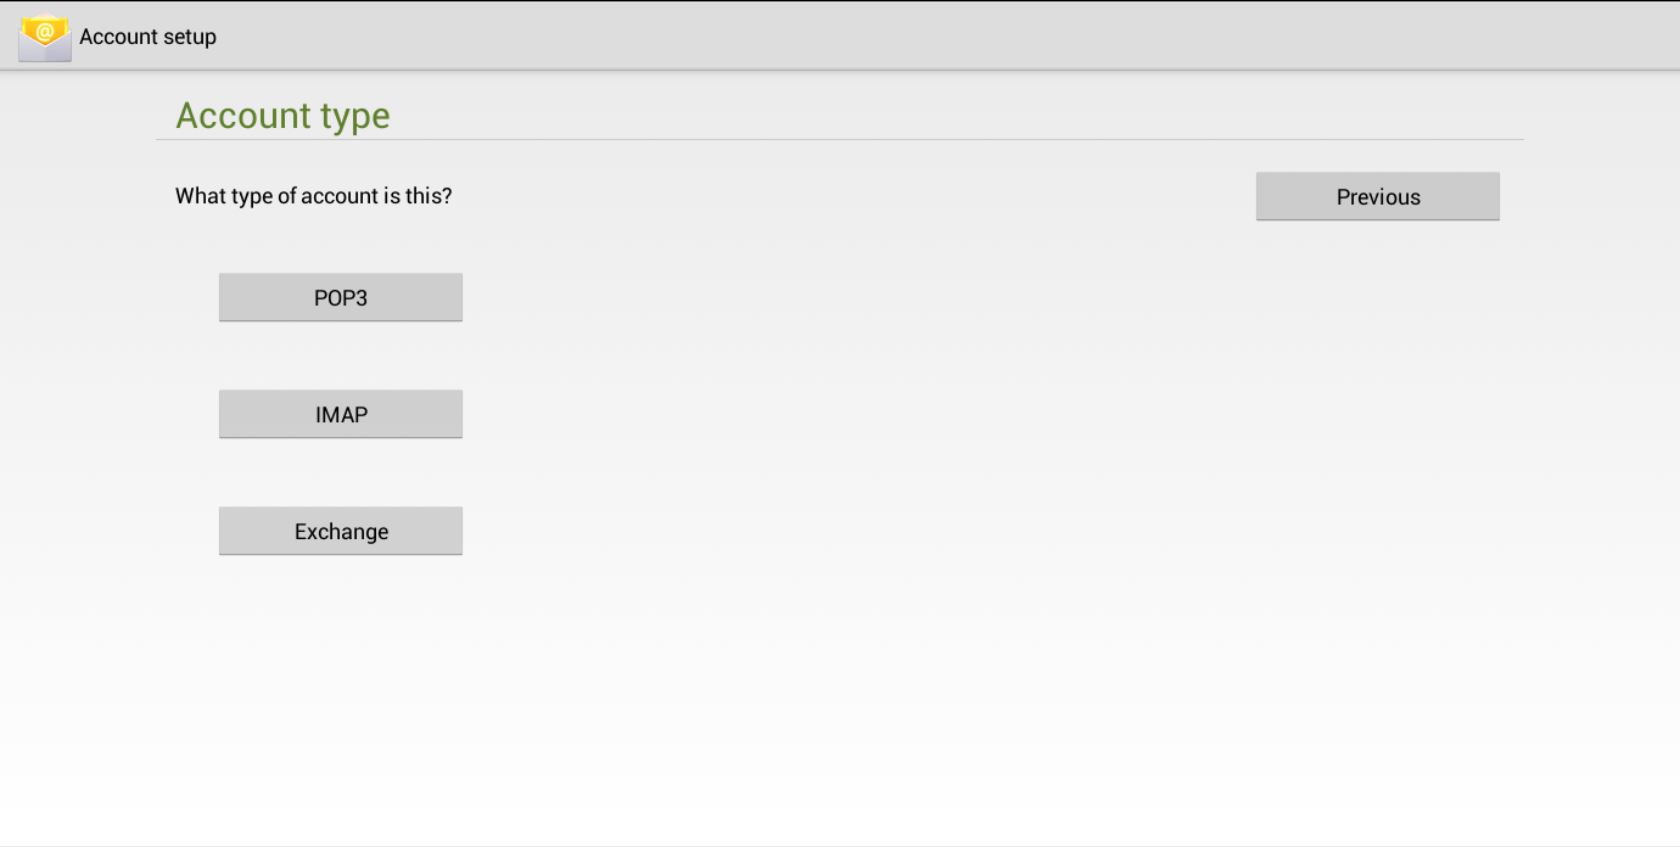
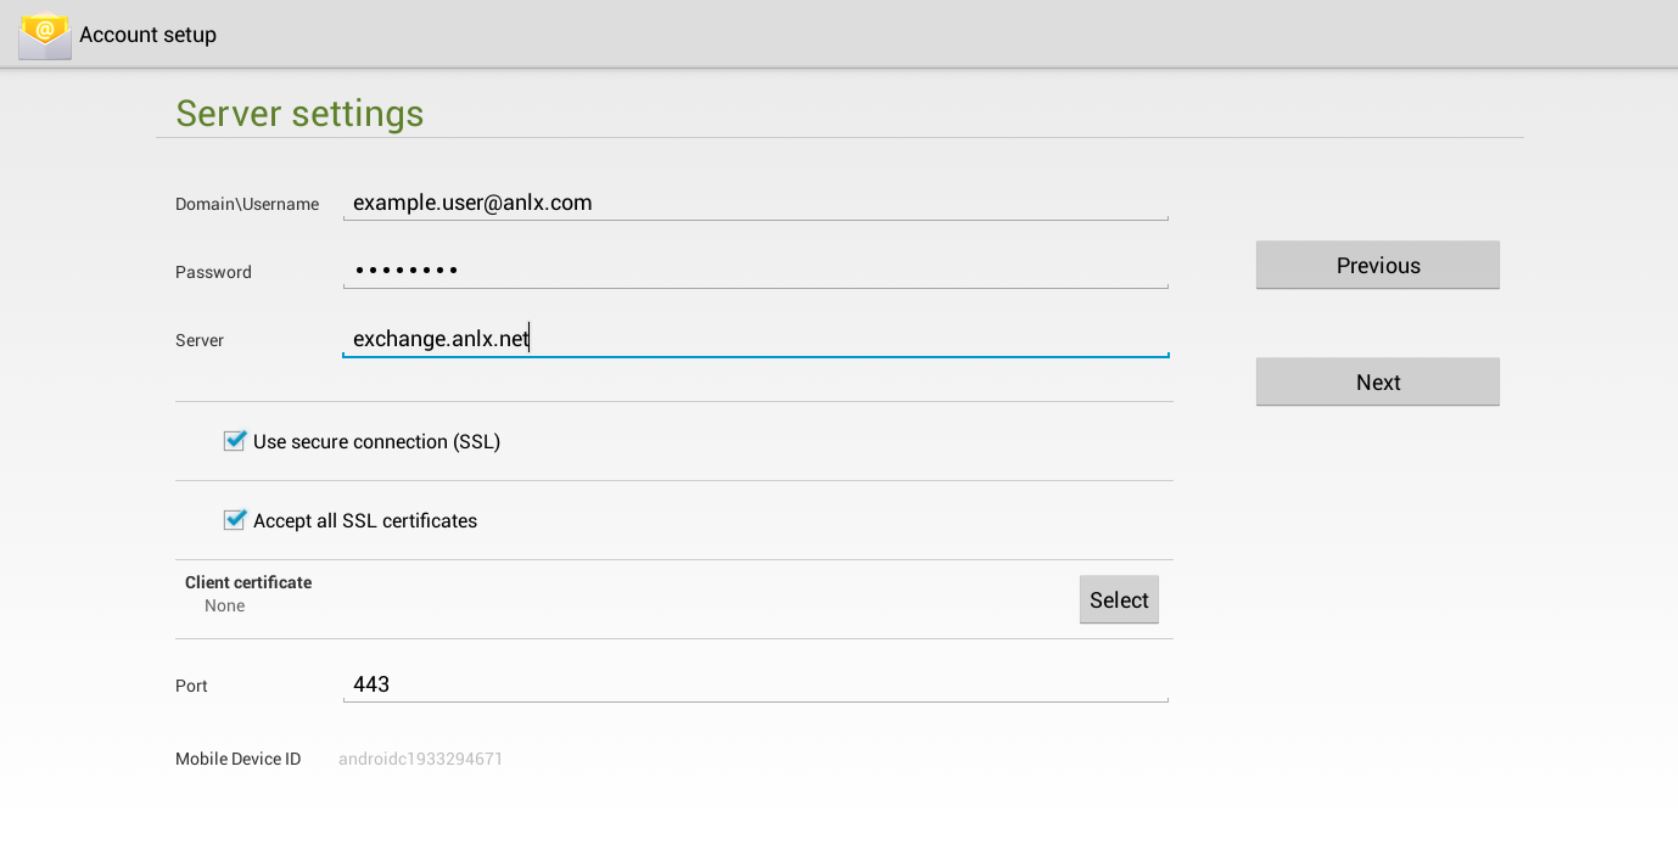
5.Please fill in the fields with this information
Domain: Your Email
Server: exchange.anlx.net
Make sure to have “Use secure Connection (SSL)”, and “Accept all SSL certificates” enabled
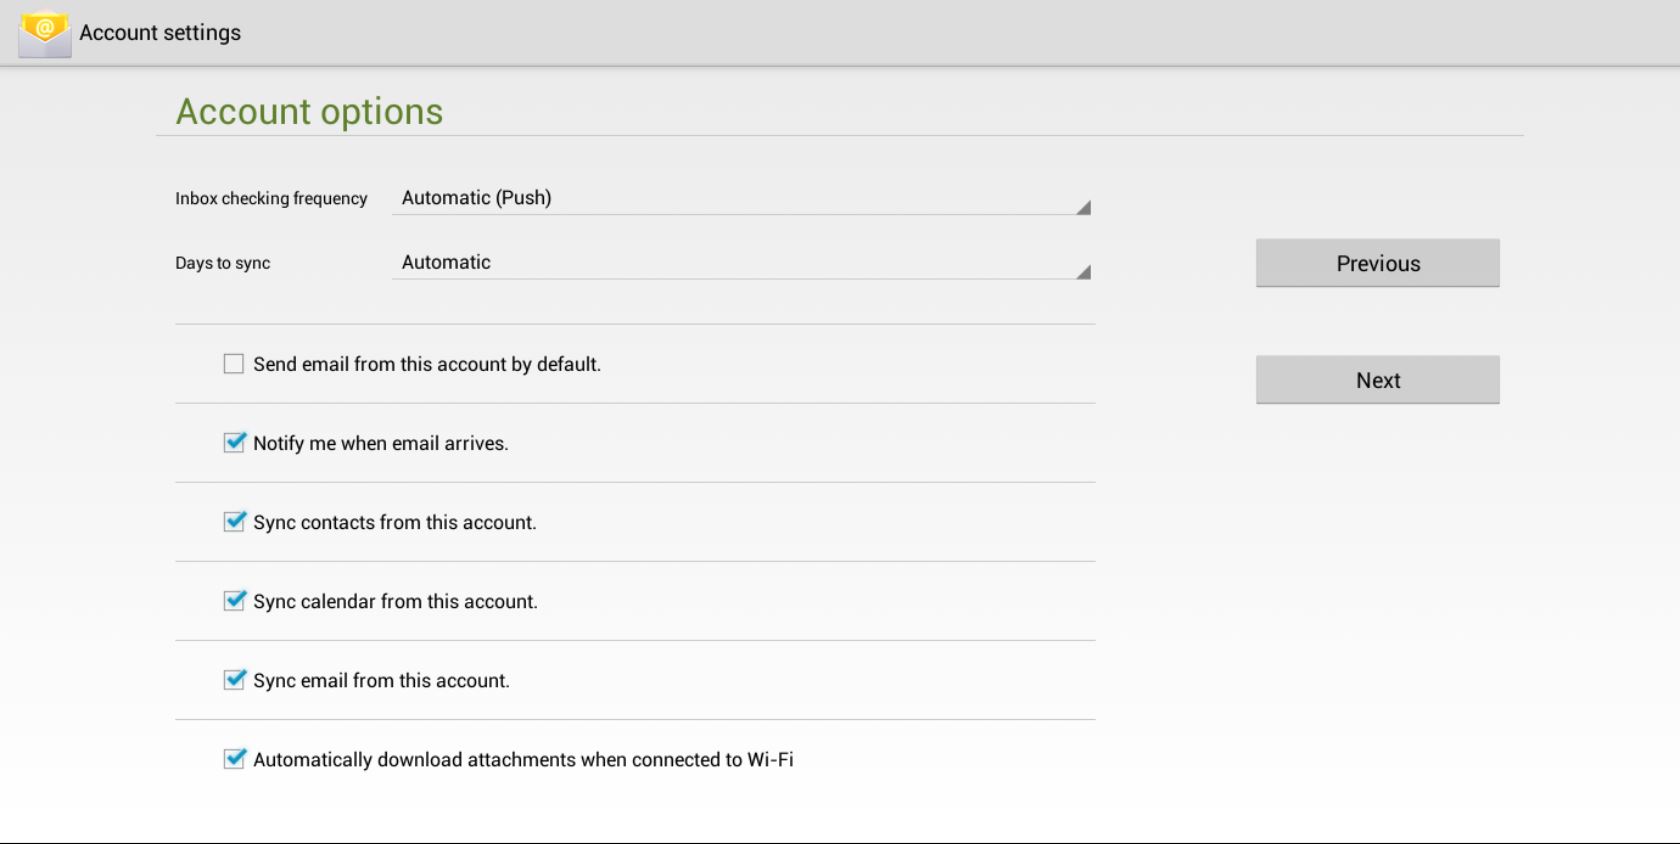
6.In the “Account option” page, make sure all these options are selected
- Notify me when email arrives
- Sync contacts from this account
- Sync calendar from this account
- Sync email from this account
- Automatically download attachments when connected to Wi-Fi
Then select the next button
7.Finally, you need to give you email account a name, ideally something you will recognize, and then select next.